
Introduction
Navigating the digital marketing landscape requires effective tools, and for many businesses, Mailchimp and Shopify stand out as essentials. In this guide, we’ll walk you through the steps to seamlessly integrate Mailchimp with Shopify, helping you automate your marketing efforts and enhance customer engagement.
Preparation Before Starting
Before you jump into connecting Mailchimp and Shopify, here are some crucial preparatory steps:
- Shopify Account: Ensure you have an active Shopify account.
- Mailchimp Access: You need manager-level access or higher in Mailchimp.
- Pause Existing Campaigns: If you have ongoing email campaigns or automations in Mailchimp, pause them to prevent any disruption.
- Checkout Sign-Up Option: If using Shopify’s sign-up at checkout feature, consider adjusting settings to prevent duplicate sign-ups.
How the Integration Works
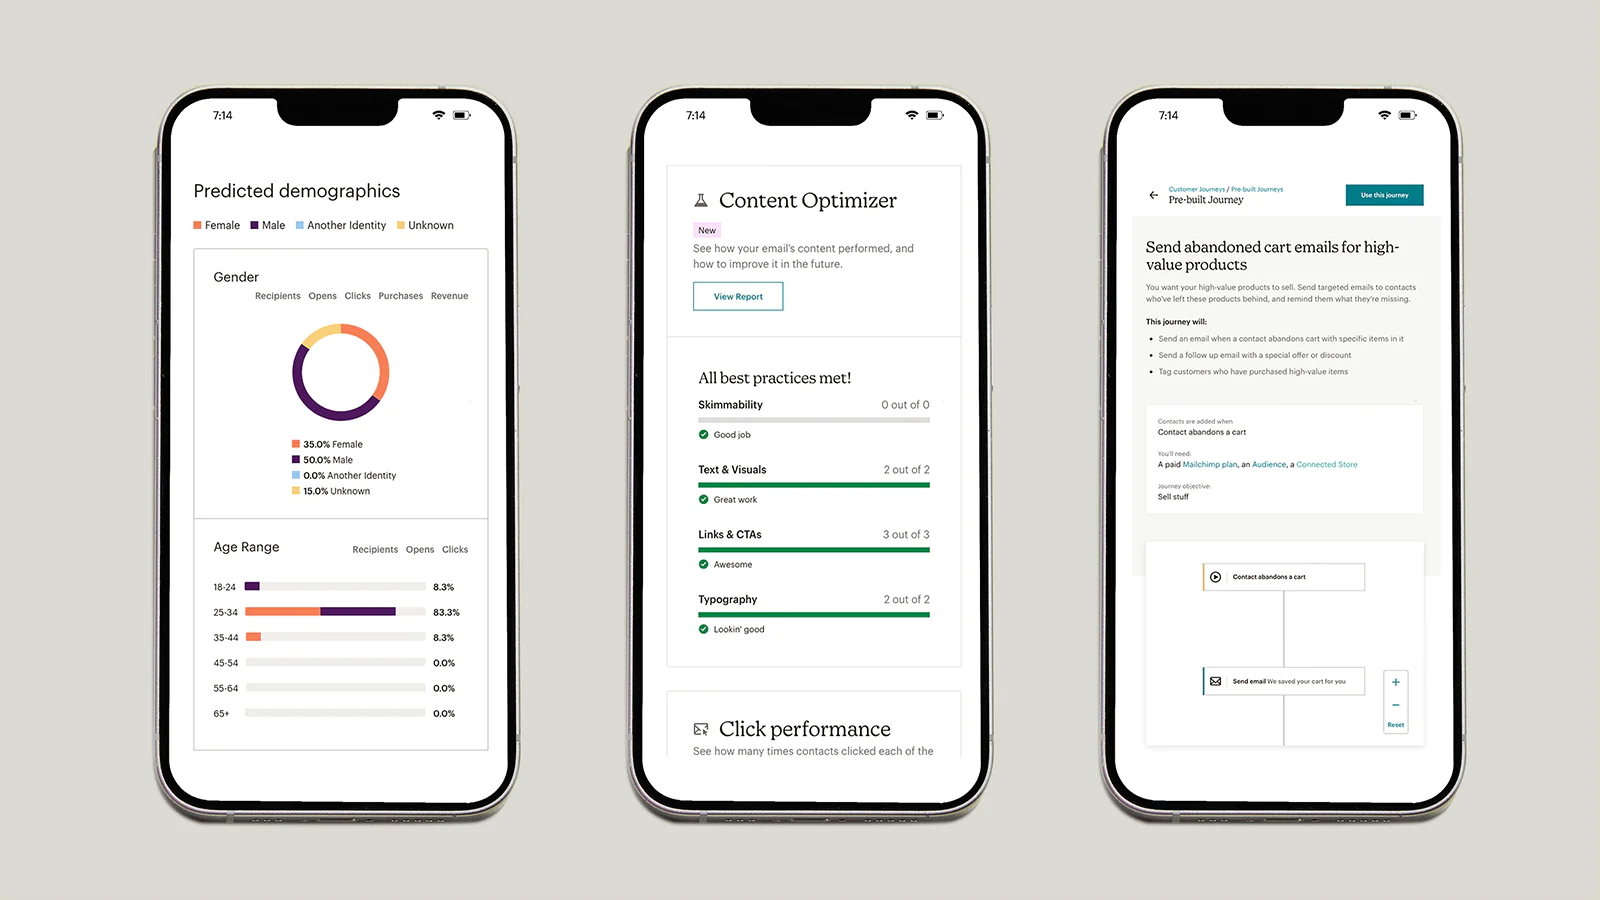
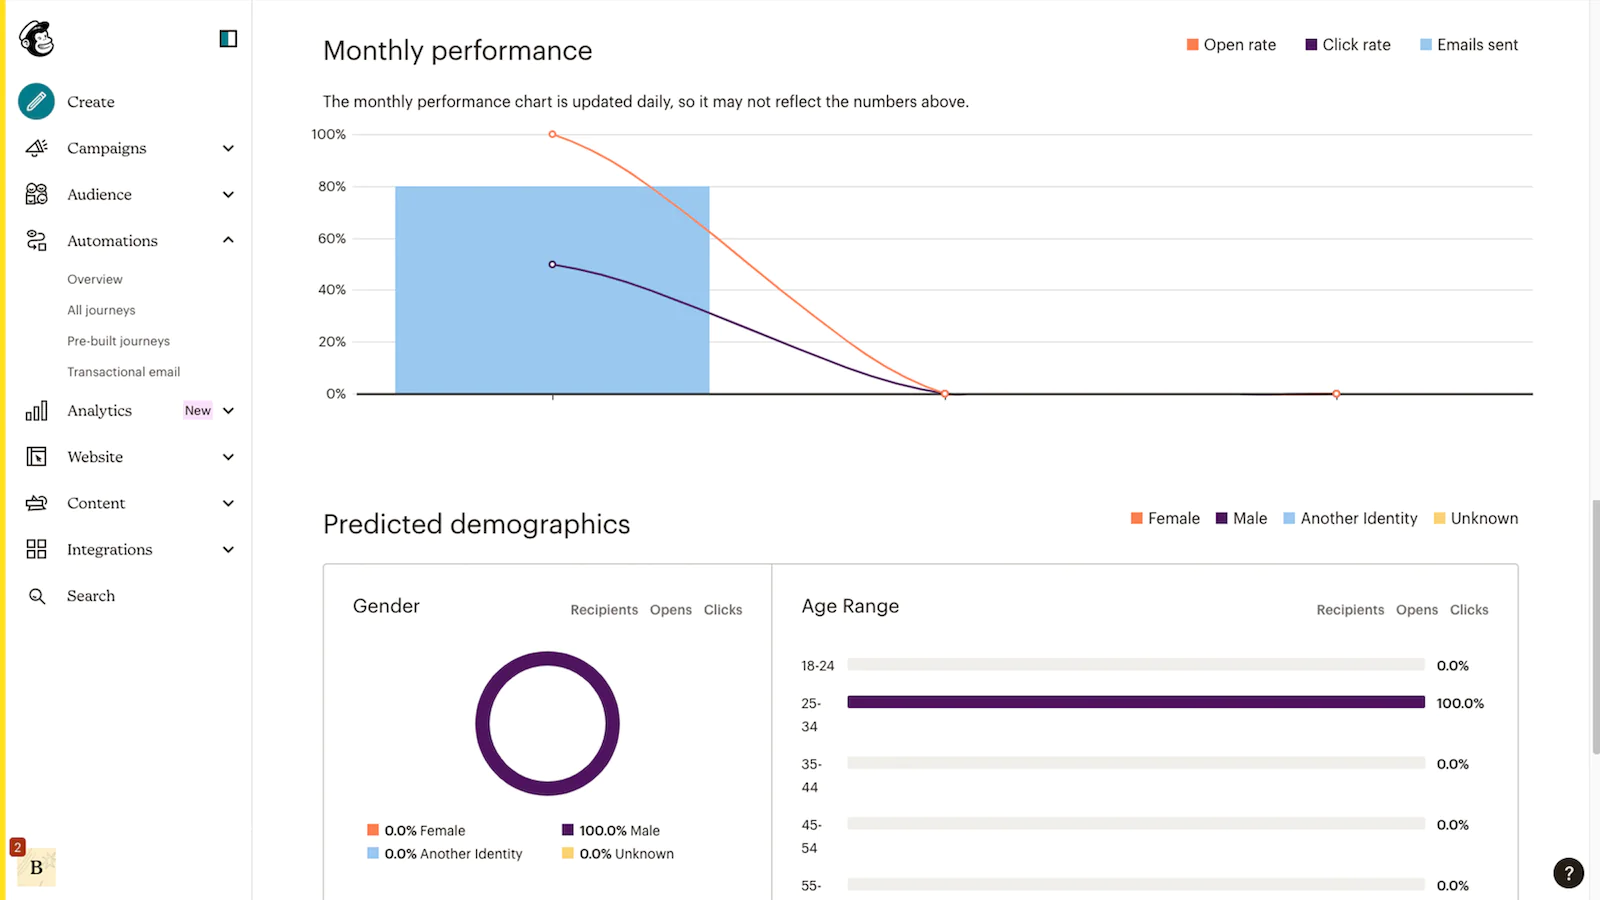
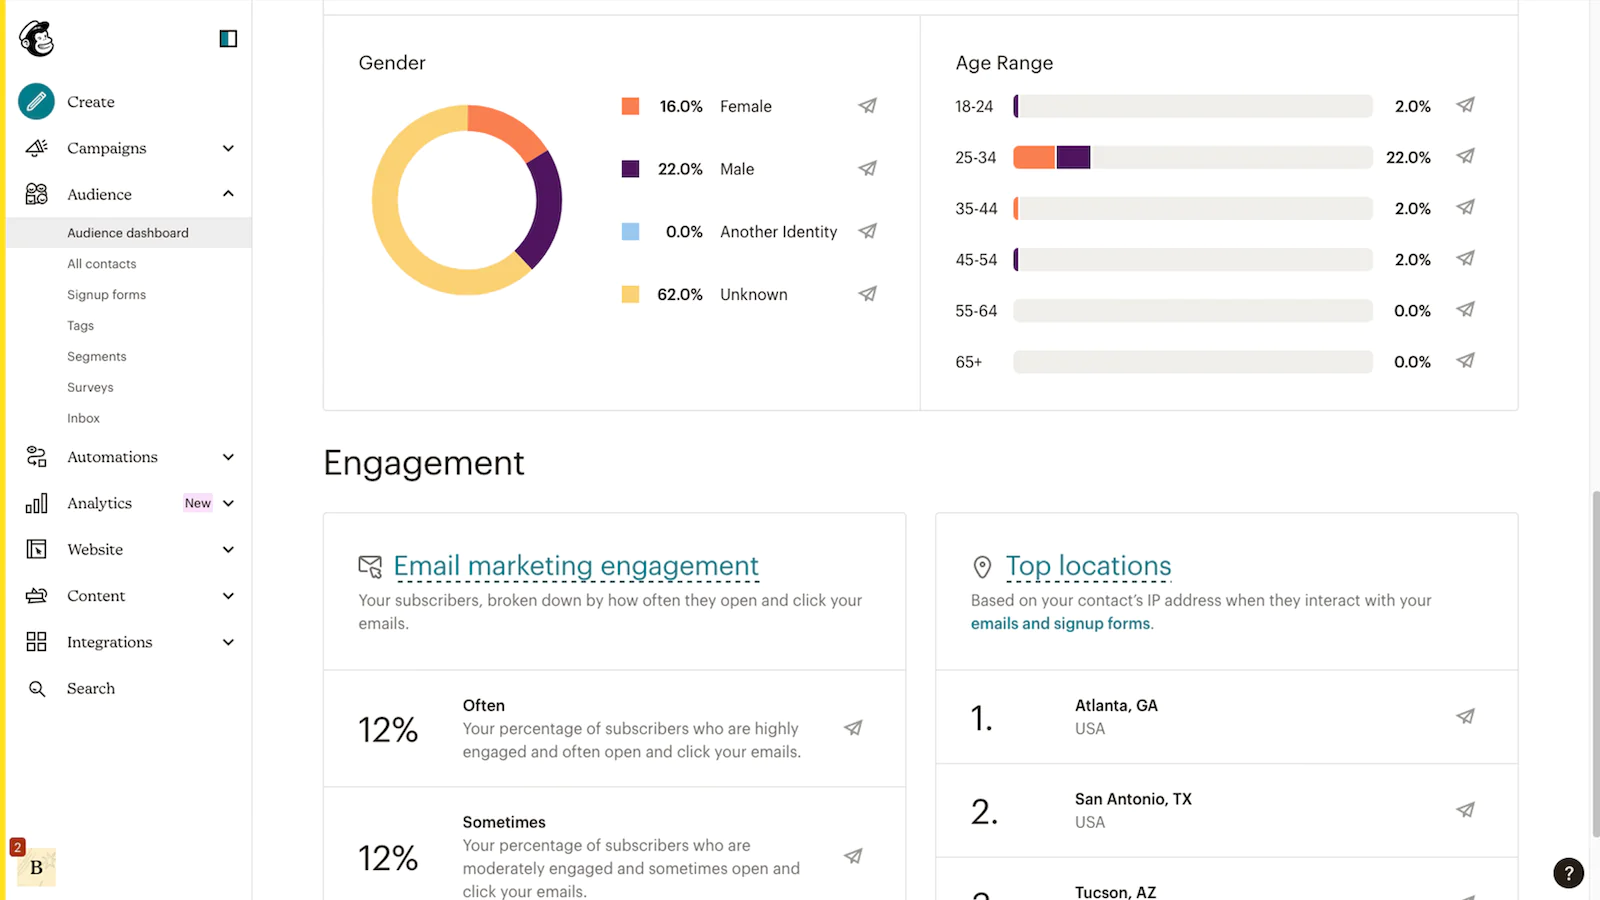
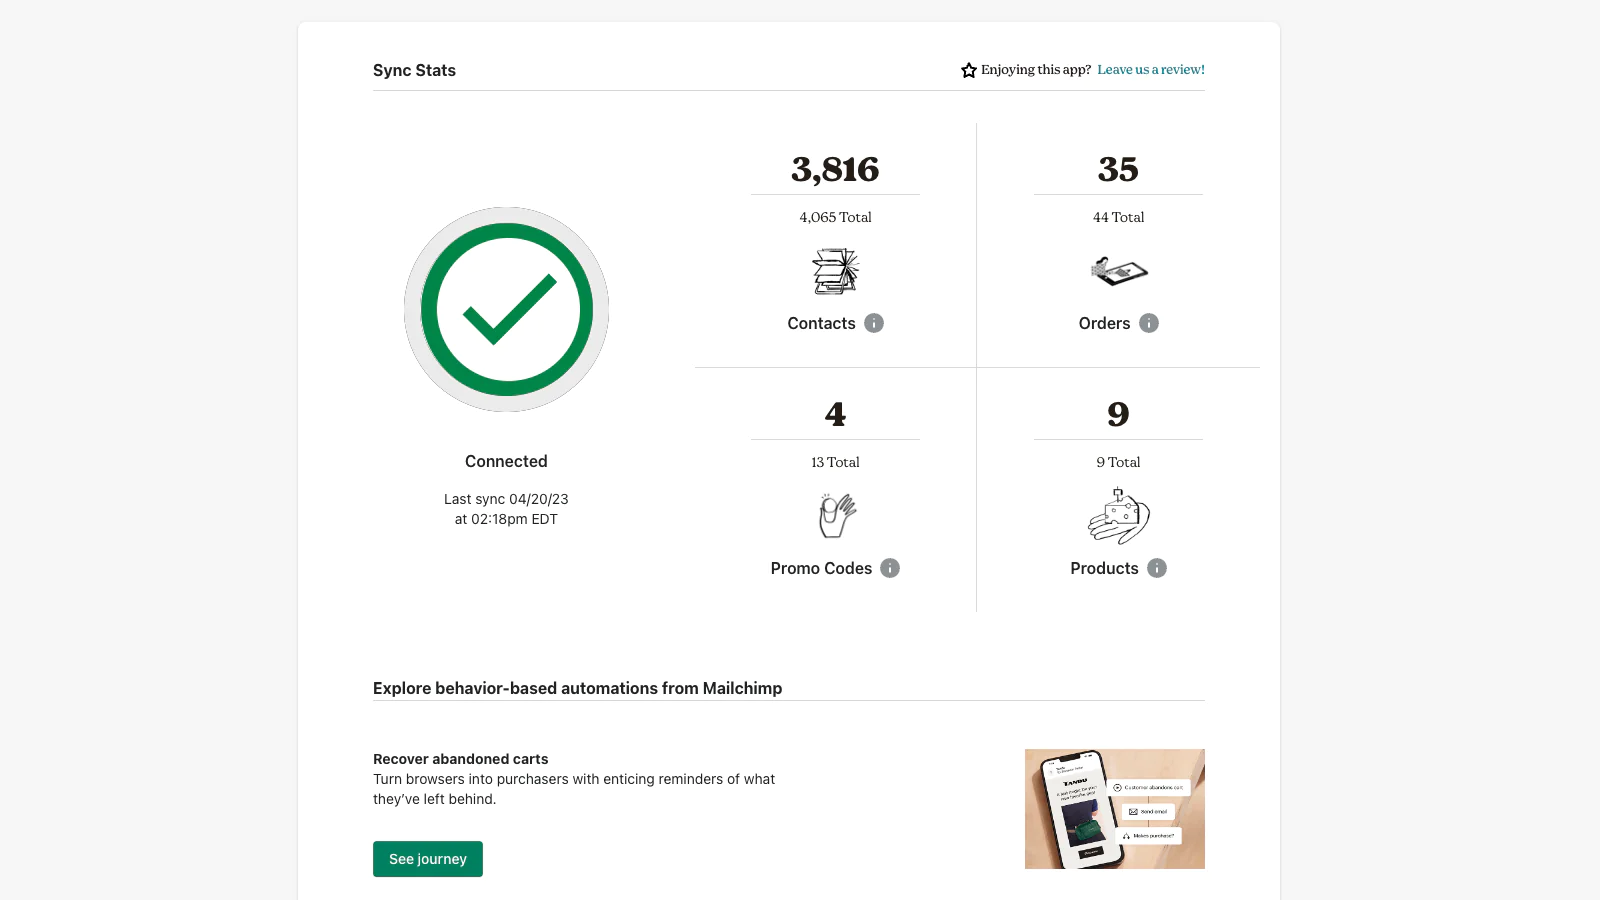
Connecting Mailchimp with Shopify syncs customer data, order information, and behavioral insights, enabling targeted campaigns and personalized product recommendations. Data syncs in real-time, with the exception of promo codes, which update every few hours. For an in-depth understanding, refer to Mailchimp’s guide on Shopify syncing.
Steps to Connect Mailchimp and Shopify
Follow these detailed steps to integrate Mailchimp with your Shopify store:
- Access Shopify Apps: Log in to your Shopify store, navigate to ‘Apps.’
- Find Mailchimp App: Search for Mailchimp and select ‘Mailchimp: Email Marketing.’
- Install the App: Click ‘Add App’ and approve the necessary permissions.
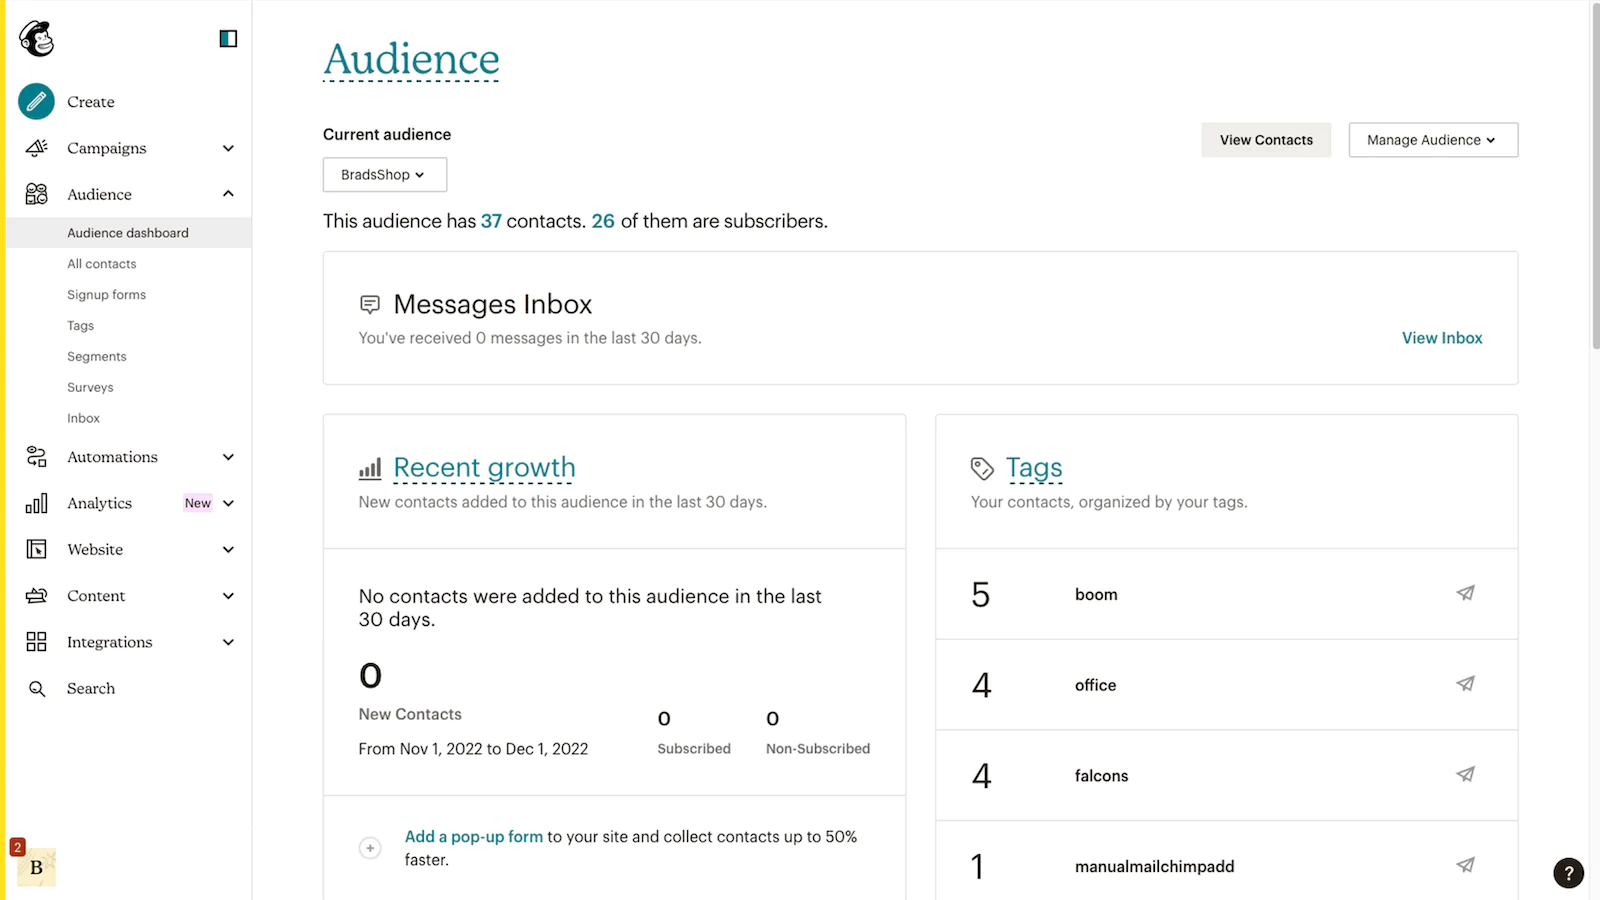
- Link Your Mailchimp Account: Log in to your existing Mailchimp account or create a new one.
- Adjust Sync Settings: Configure your sync settings, select your Mailchimp audience, and adjust data field mappings as necessary.
- Start the Sync: Click ‘Sync now’ to initiate the integration.
Post-Integration Considerations
Once integrated, revisit your Mailchimp automations and campaigns, updating them as necessary to align with your new Shopify data. If utilizing order notifications or abandoned cart automations, ensure you disable duplicate notifications from Shopify.
Disconnecting Shopify from Mailchimp
If needed, here’s how to disconnect:
- In Shopify: Navigate to ‘Apps,’ find ‘Mailchimp: Email Marketing,’ and delete the app.
- In Mailchimp: Go to ‘Integrations,’ manage your Shopify connection, and revoke API access.
For an in-depth guide on connecting and disconnecting your Shopify store to your Mailchimp, click here.
Conclusion
Integrating Mailchimp with Shopify opens up a world of marketing automation possibilities, helping you create targeted campaigns based on real customer data. By following this guide, you’ll be on your way to a more connected and effective marketing strategy. Remember, preparation and careful setup are key to a successful integration. Explore, experiment, and watch your e-commerce efforts thrive!